

 Camera self help articles
 Category Widget (Show all)
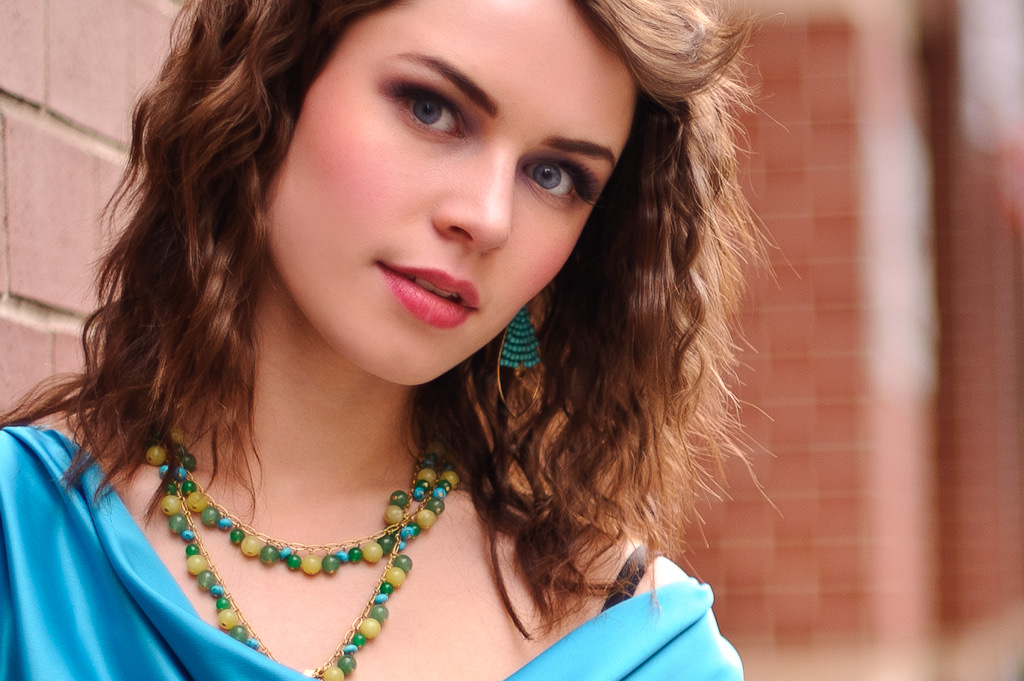
This is probably the most known and most used method out there to help you achieve the radiant skin tone. Once you know all the steps, it gets pretty easy to utilize this method. I will use the following image as an example:
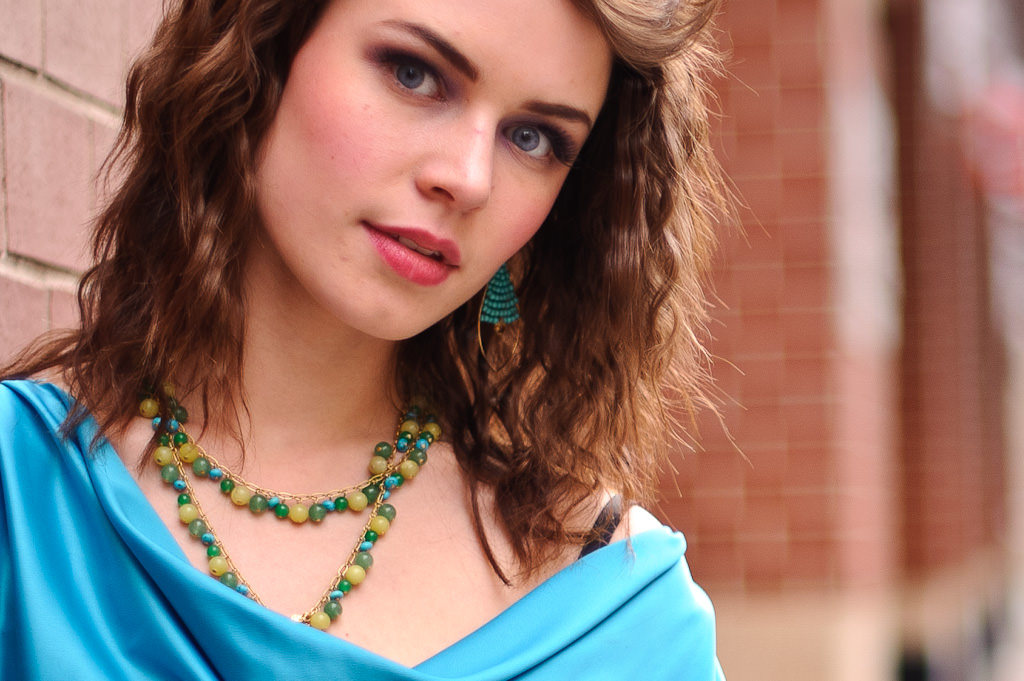
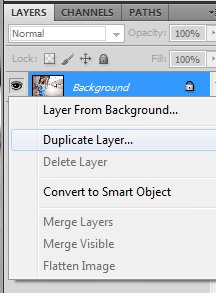
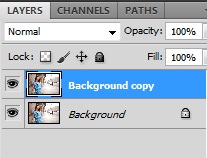
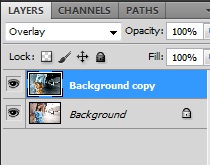
If there are not many blemishes to get rid of, use the spot healing brush to clean them out and you can use this smoothening method to even out the skin tone. Once you open the image in Photoshop, create a background copy by right clicking on the Background and choosing Duplicate Layer.
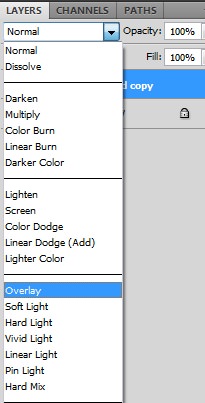
Change blend mode to Overlay and Invert the image by pressing Ctrl+I.
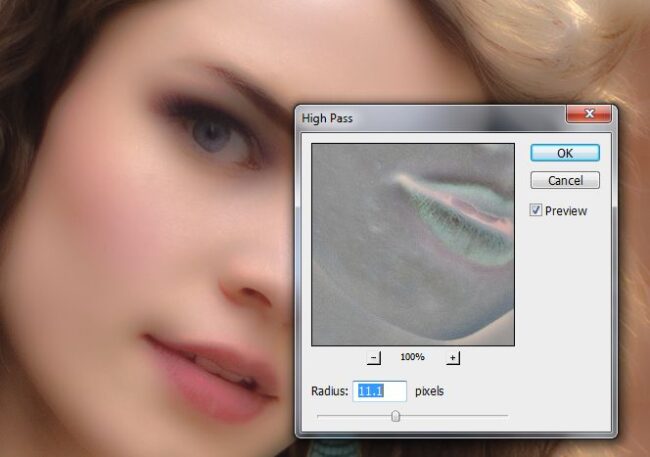
Go to Filter->Other->High Pass.

When the High Pass window opens up, start increasing the radius until most skin blemishes are gone. Soft edges are not a problem at this stage as we will reverse the effect in a little bit. For this particular image, I settled it to 11.1 pixels and hit the OK button.
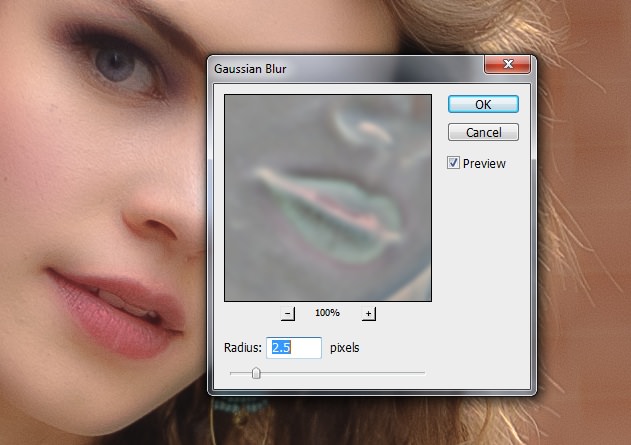
Now go to Filter->Blur->Gaussian Blur. This step will reveal how much of skin texture you are willing to preserve. Set a high radius this time, which will reverse the High Pass step. But by gradually going down on radius, visually you will be able to tell if you are comfortable with the combo of High Pass and Gaussian Blur; Smoothening and still preserving some skin texture.

For this particular image I ended up with 2.5 pixels. Visually I thought this was good enough for me to have a smooth, evenly toned skin with some skin texture I want to preserve without turning my model into a plastic doll. Next, hit the OK button.
The next step is to work with masks in order to blend all the previous steps. Make sure you are still on the Duplicate Layer, press Alt+Click on layer mask icon which will yield a black mask. You can see it on the Background Copy:
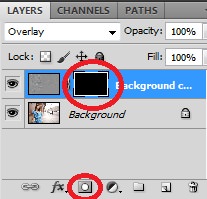
Choose a Soft Brush, set your foreground color to white and start painting over the blemishes and the skin. Remember that we want the skin to be soft and other parts of the body to be perfectly intact. While painting, be careful not to paint over the edges of the face, nostrils, lips, hair, eyes, eye brows and such.

Once you are satisfied with the result click Ctrl+E to merge the layers and Save the image. Here is our final result for this image:
I hope you will find this tutorial helpful. Once you get used to the entire process, it is going to be a breeze. Let me know if you have any questions!
http://mansurovs.com/how-to-smoothen...d-of-blemishes
 Recent Articles